To create an invoice, go to the Payments section from the patient screen. Click on the Create Invoice button located in the bottom right corner. This will open a screen where you can configure your invoice settings.

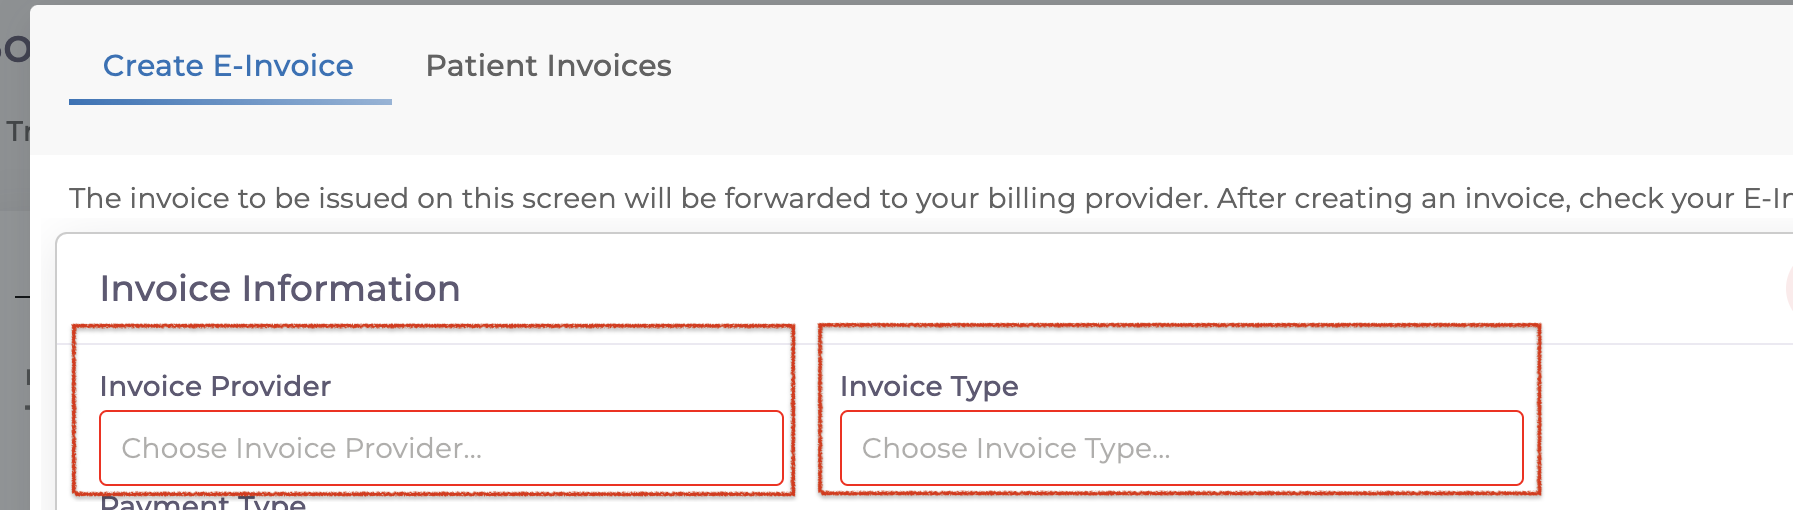
Selecting the Invoice Provider
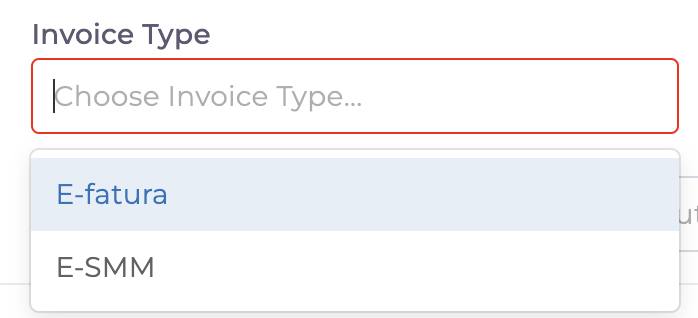
In the required fields, choose the appropriate Invoice Provider and Invoice Type.
For sole proprietorships, select E-SMM.
For all other types, select E-Invoice.
Choosing Personal Info
If you’re creating an invoice for a patient, click on the Personal Info button and select Real.
If the invoice is for an institution, choose Corporate and then Select Institution instead.

Filling in Additional Details
After entering the required information, Use the button in the top-right corner to filter treatments based on their status: Done, Not Done, or All.
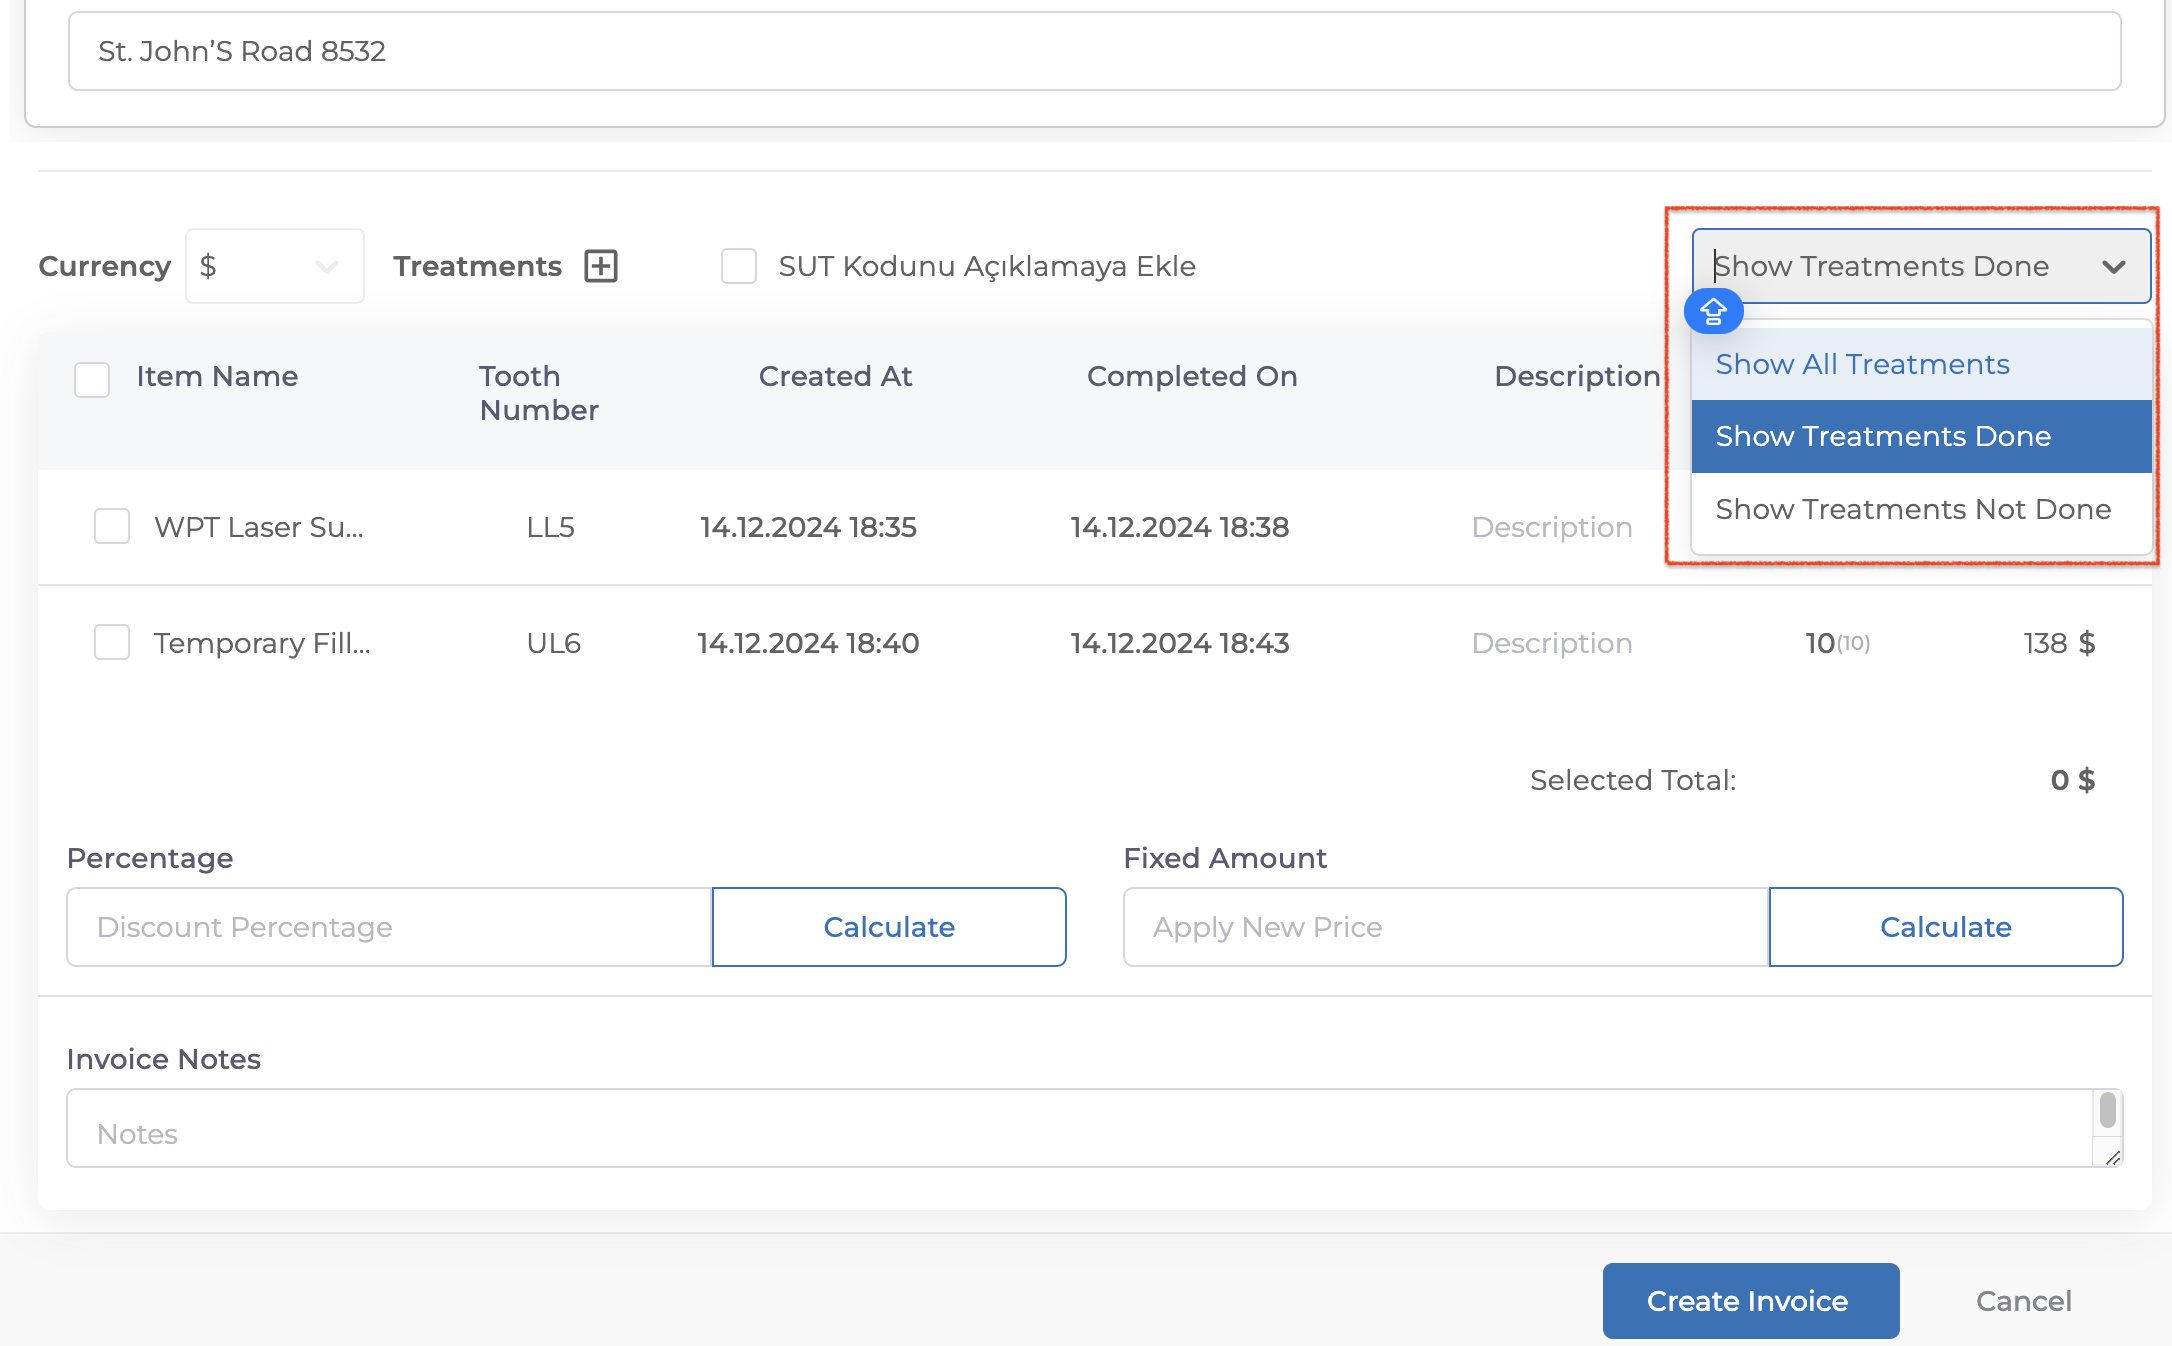
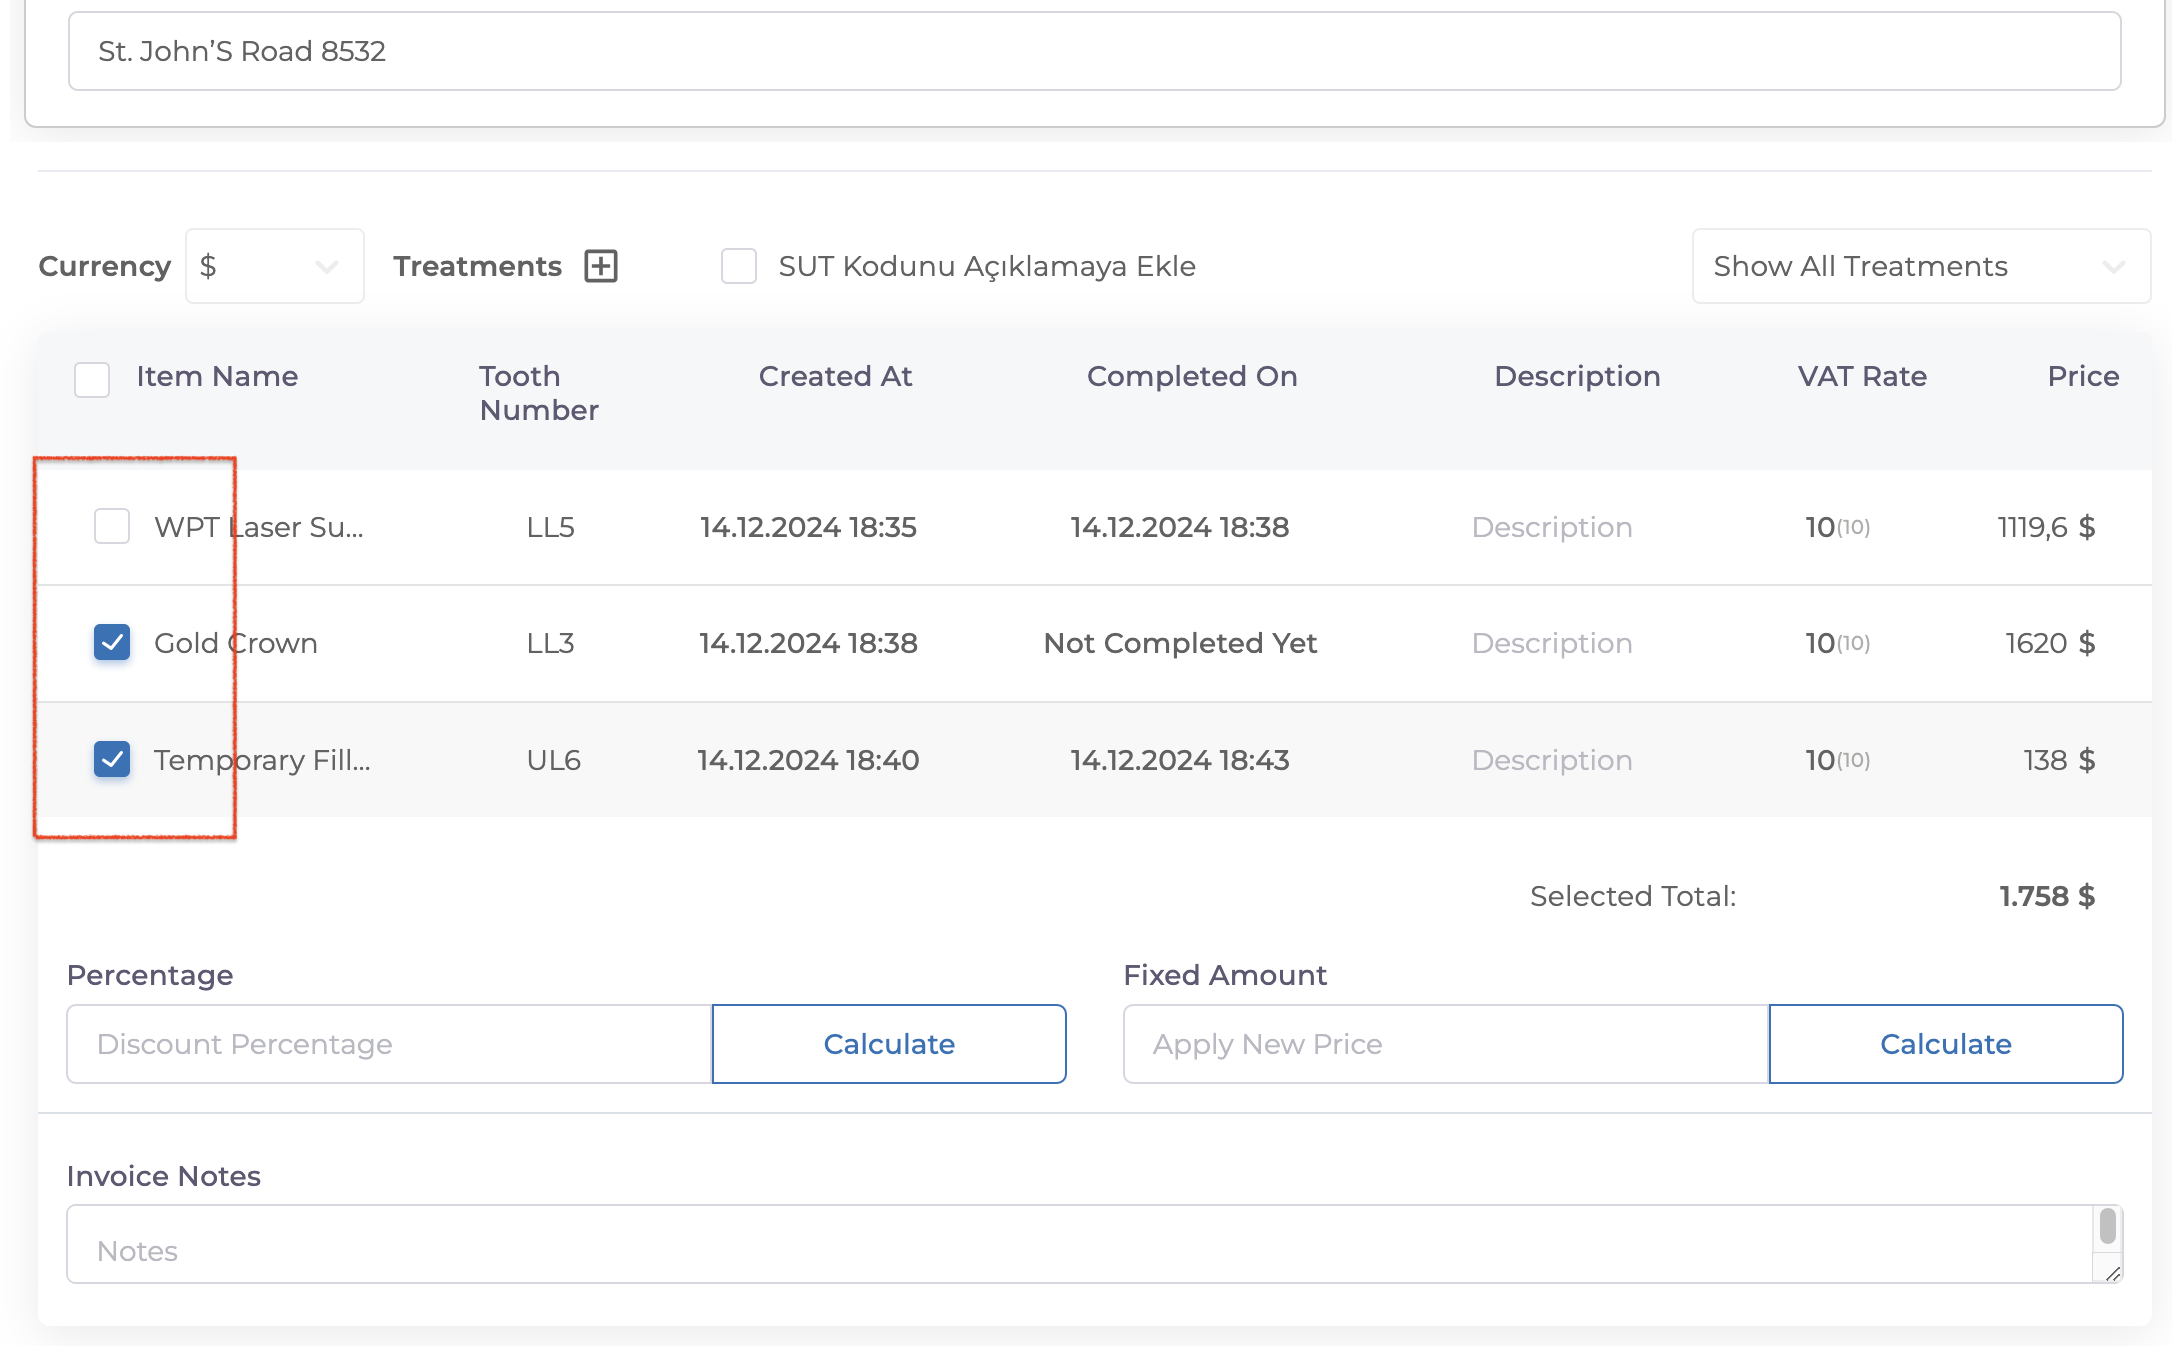
Select the treatments you want to include in the invoice from the list below.
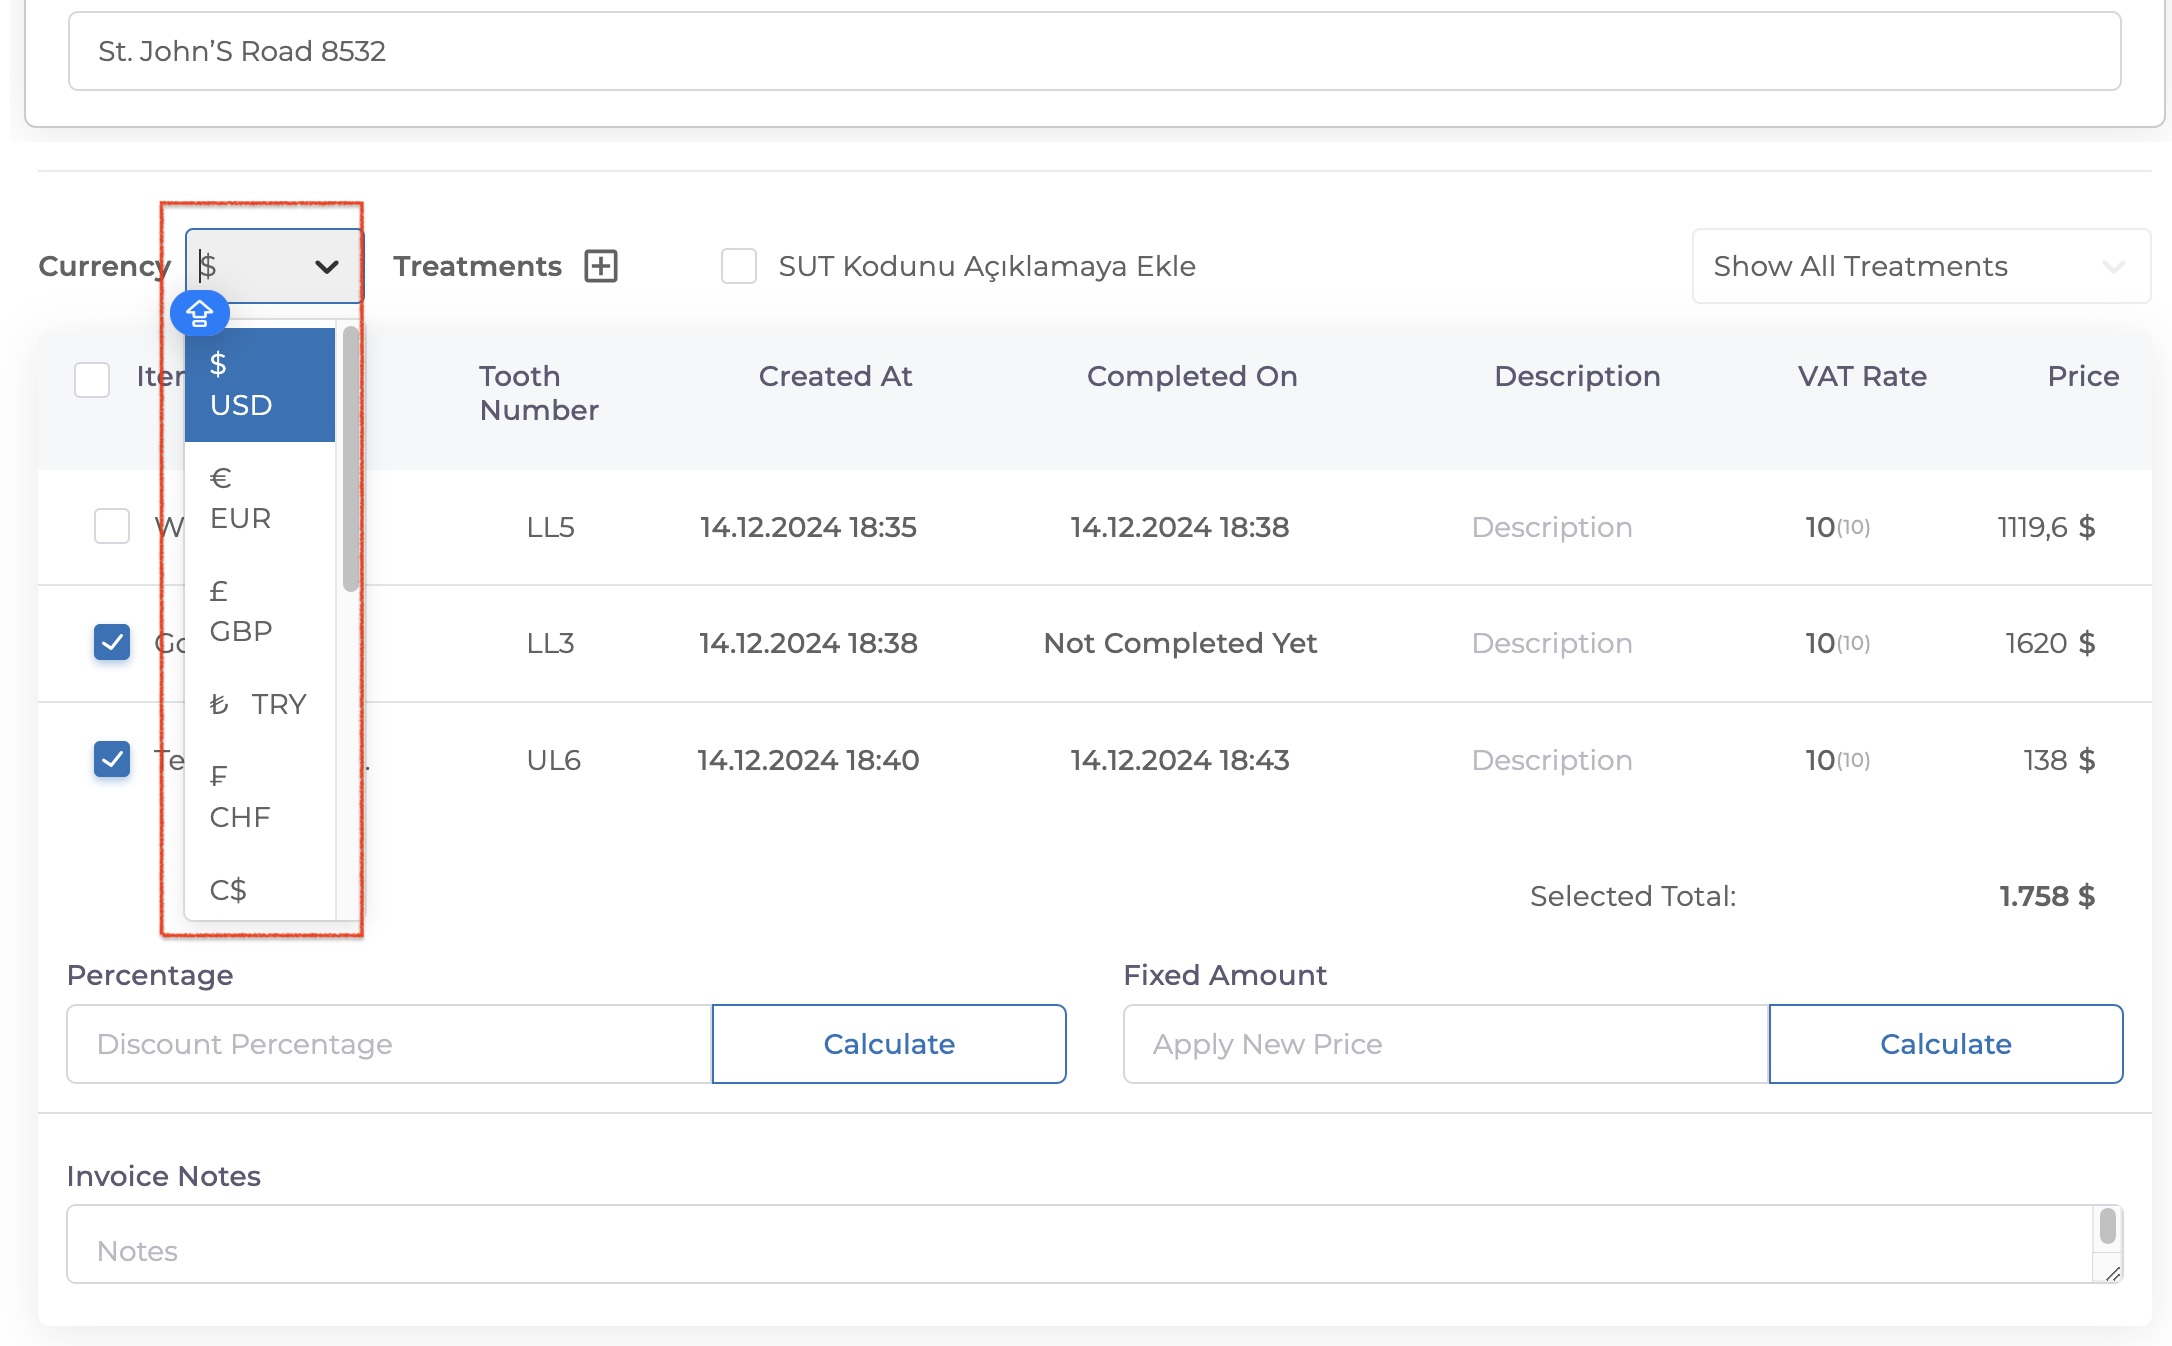
You can also choose the currency for the invoice from this section.
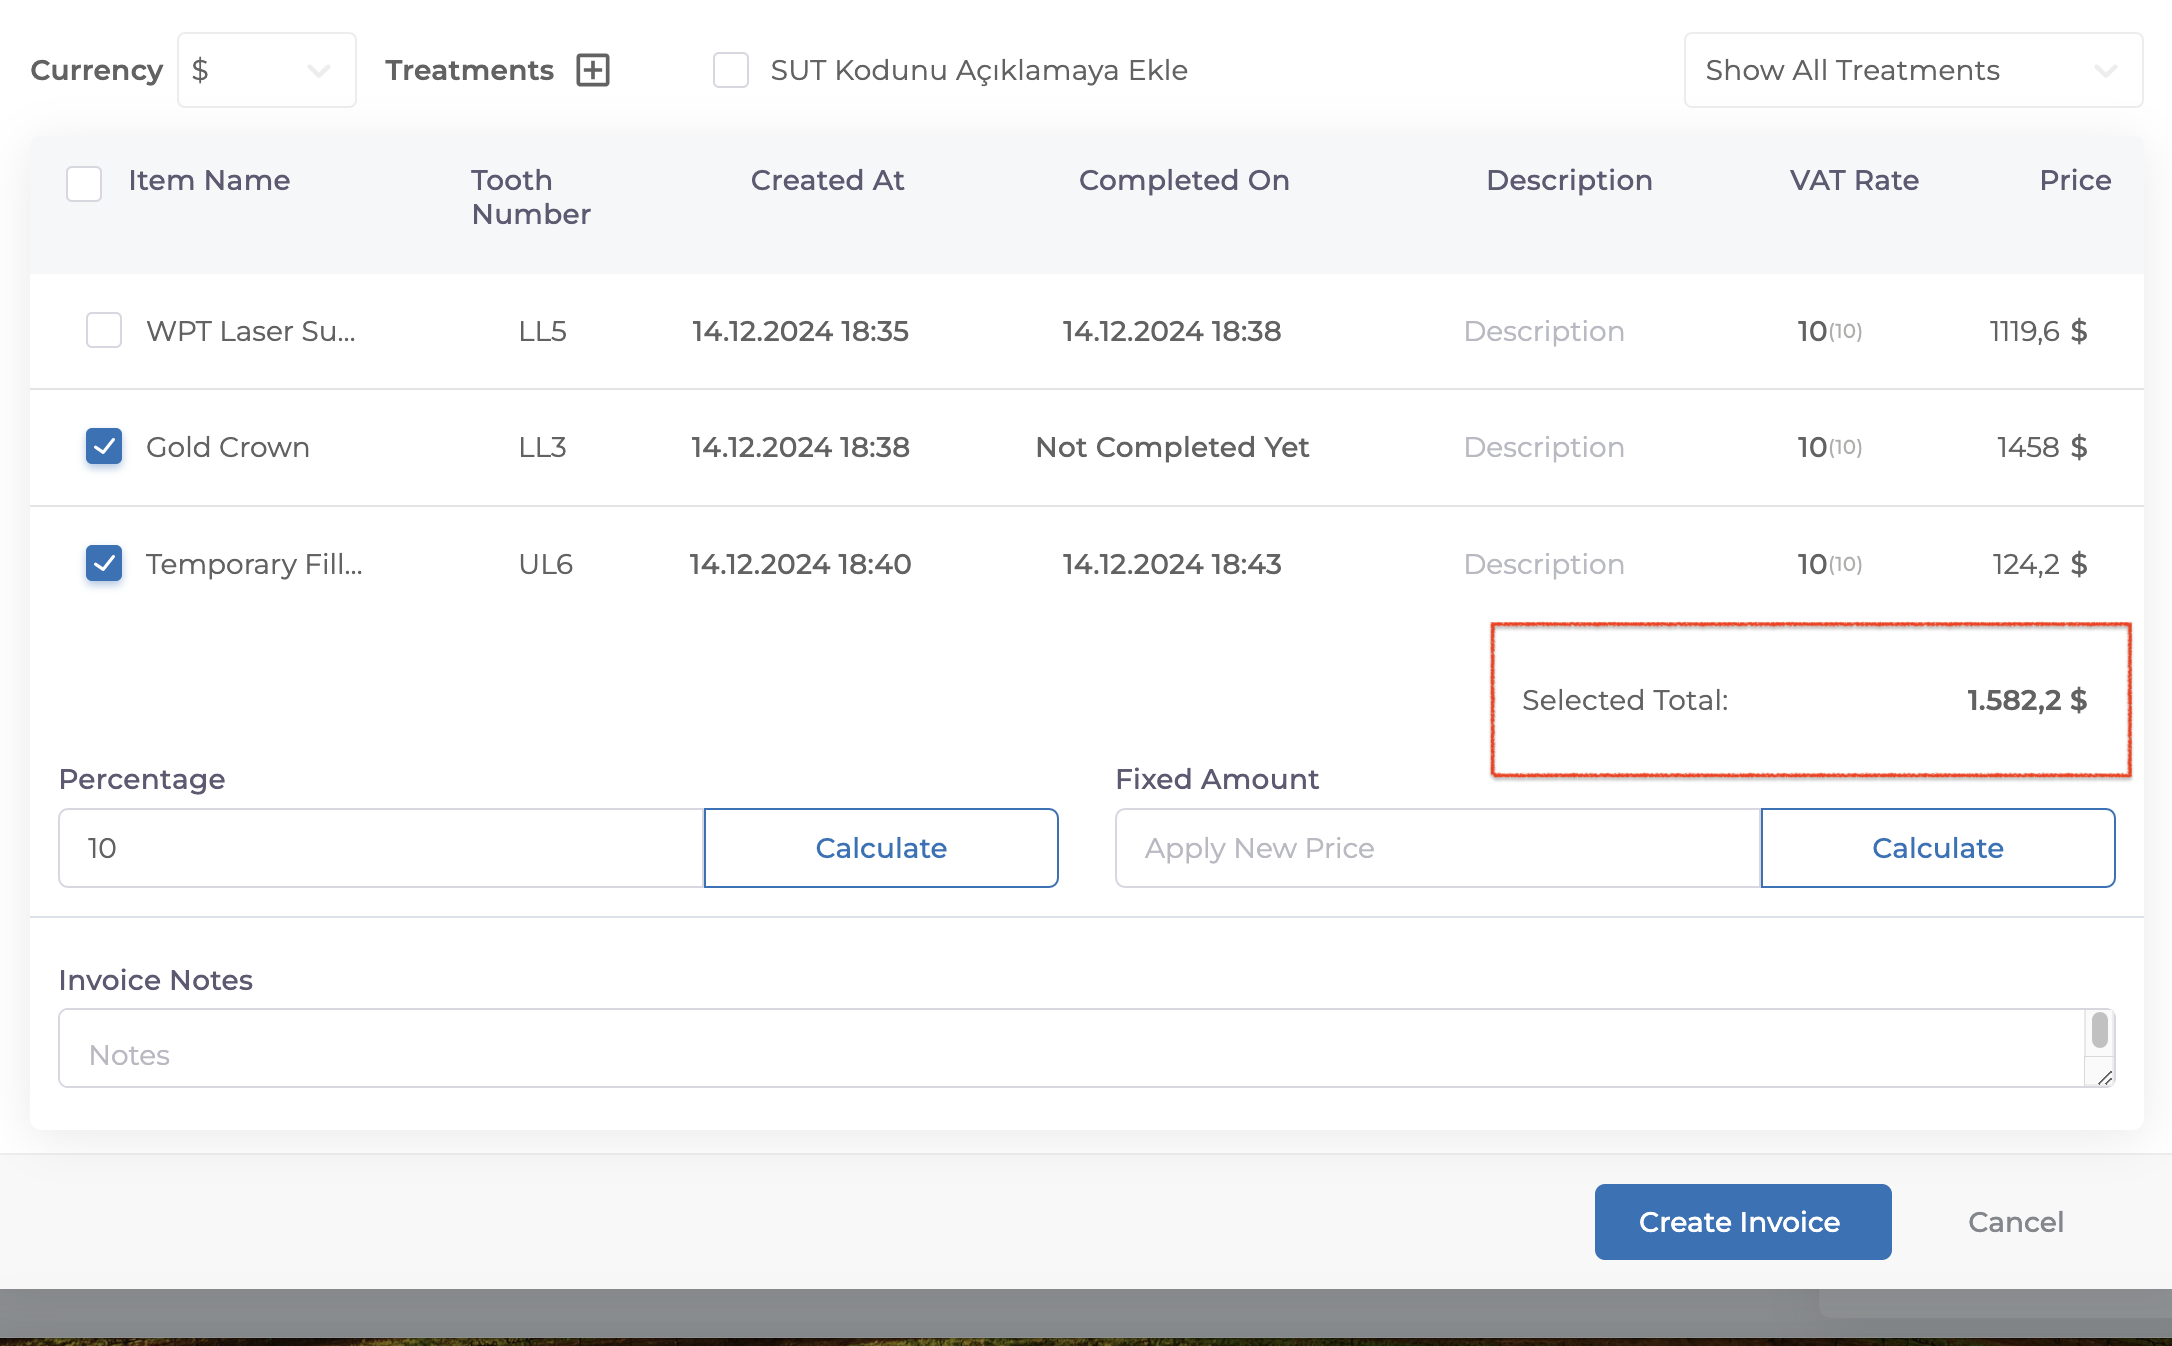
Adding Discounts
In the next step, you can add a discount:
Either as a percentage or a fixed amount.

Once you click the Calculate button the discount will automatically be reflected in the Price field above.
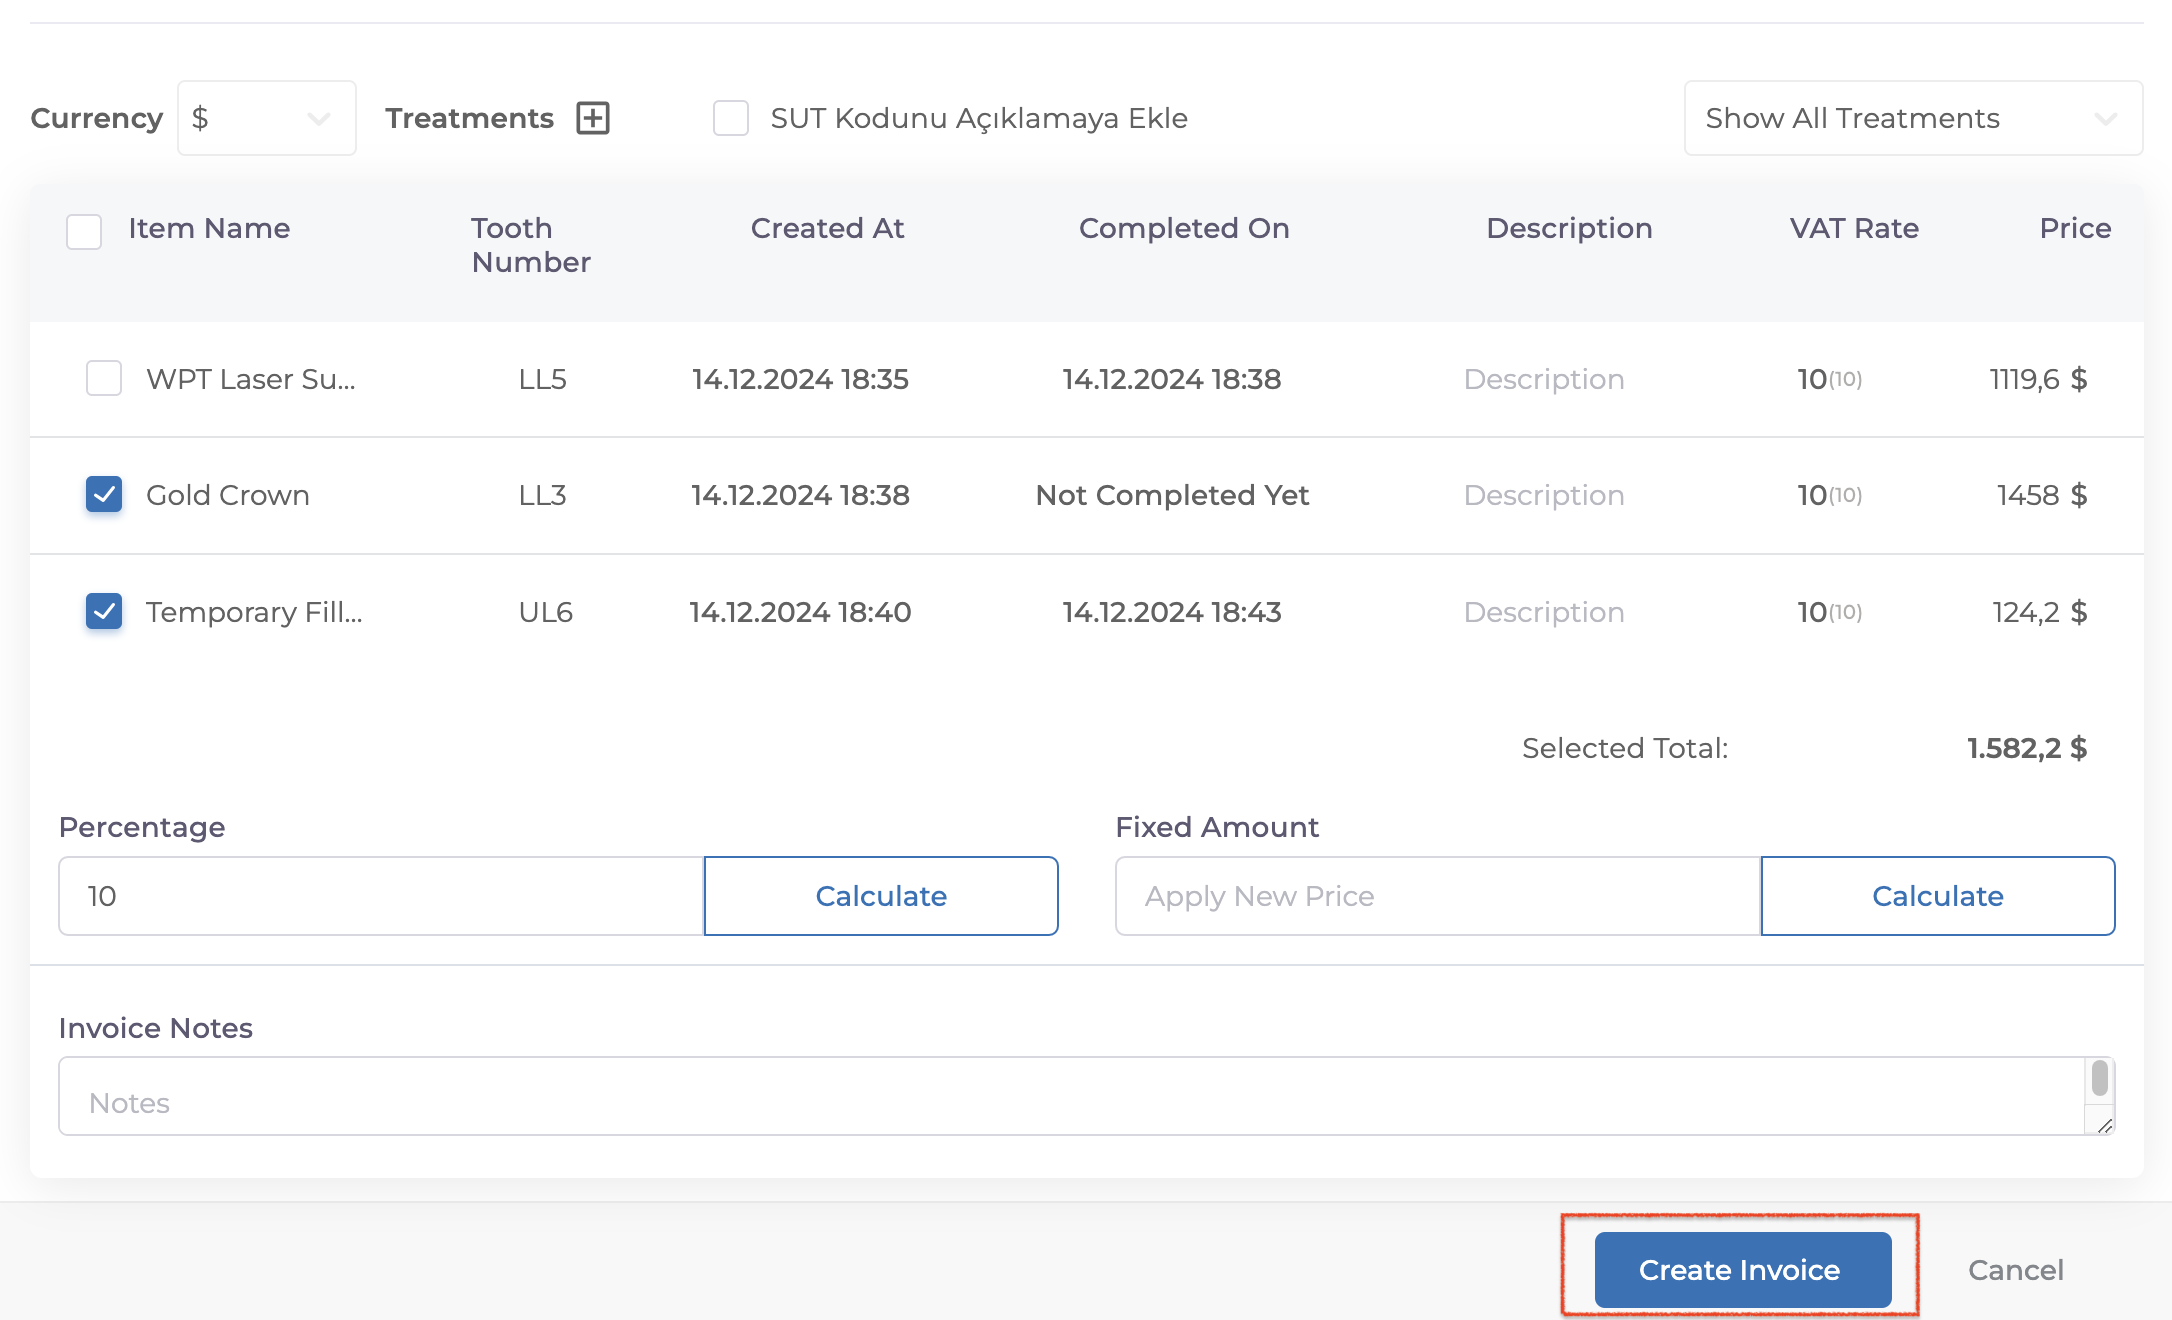
Finalizing the Invoice
Once all fields are completed, click on Create Invoice. Your invoice will be generated and ready to use.
If your issue is not resolved, you can contact our team using the live chat button located at the bottom right corner of the screen.